This technique involves rendering point-particles in order to achieve the detailed “billowing” kinda flame-motion and look, and by point rendering i mean we’ll be rendering many many thousands of points, so lotsa ram and cpu power will be needed.

We’ll start off by adding a pEmitter, pDirectionalforce, pPointForce and a pRender, in that order.
First select the pRender node and set the render to be 2d and set the subframe calculation to 2.
Select the pEmitter node and change the number of particles pr.sec to 2000 with 90 in life and 15 in variation.
Go to the styles tab and change the apply type to “merge” and tick on the “Sub-pixel rendered”.
Now go to the color over life controls and create a gradient that’s white at the start and fades it’s alpha down to 0 at the end.
Click the region tab and change the “sphere” region to “line”, and place the lines at “almost” the bottom with a medium distance from each other (not too big, will require more particles)
On the pDirectionalForce node change the strength to 0.01 and direction to 90. This is because we want the tumbling upwards effect to be slow in order for the particles to be able to form the right patters later with combining the turbulence nodes.
The same for the pPointforce node, change the strength to 0.08 and place the translation-gizmo in the middle-on-top of the image, this creates a certain dragging motion towards a target, like some flames billow towards a target.
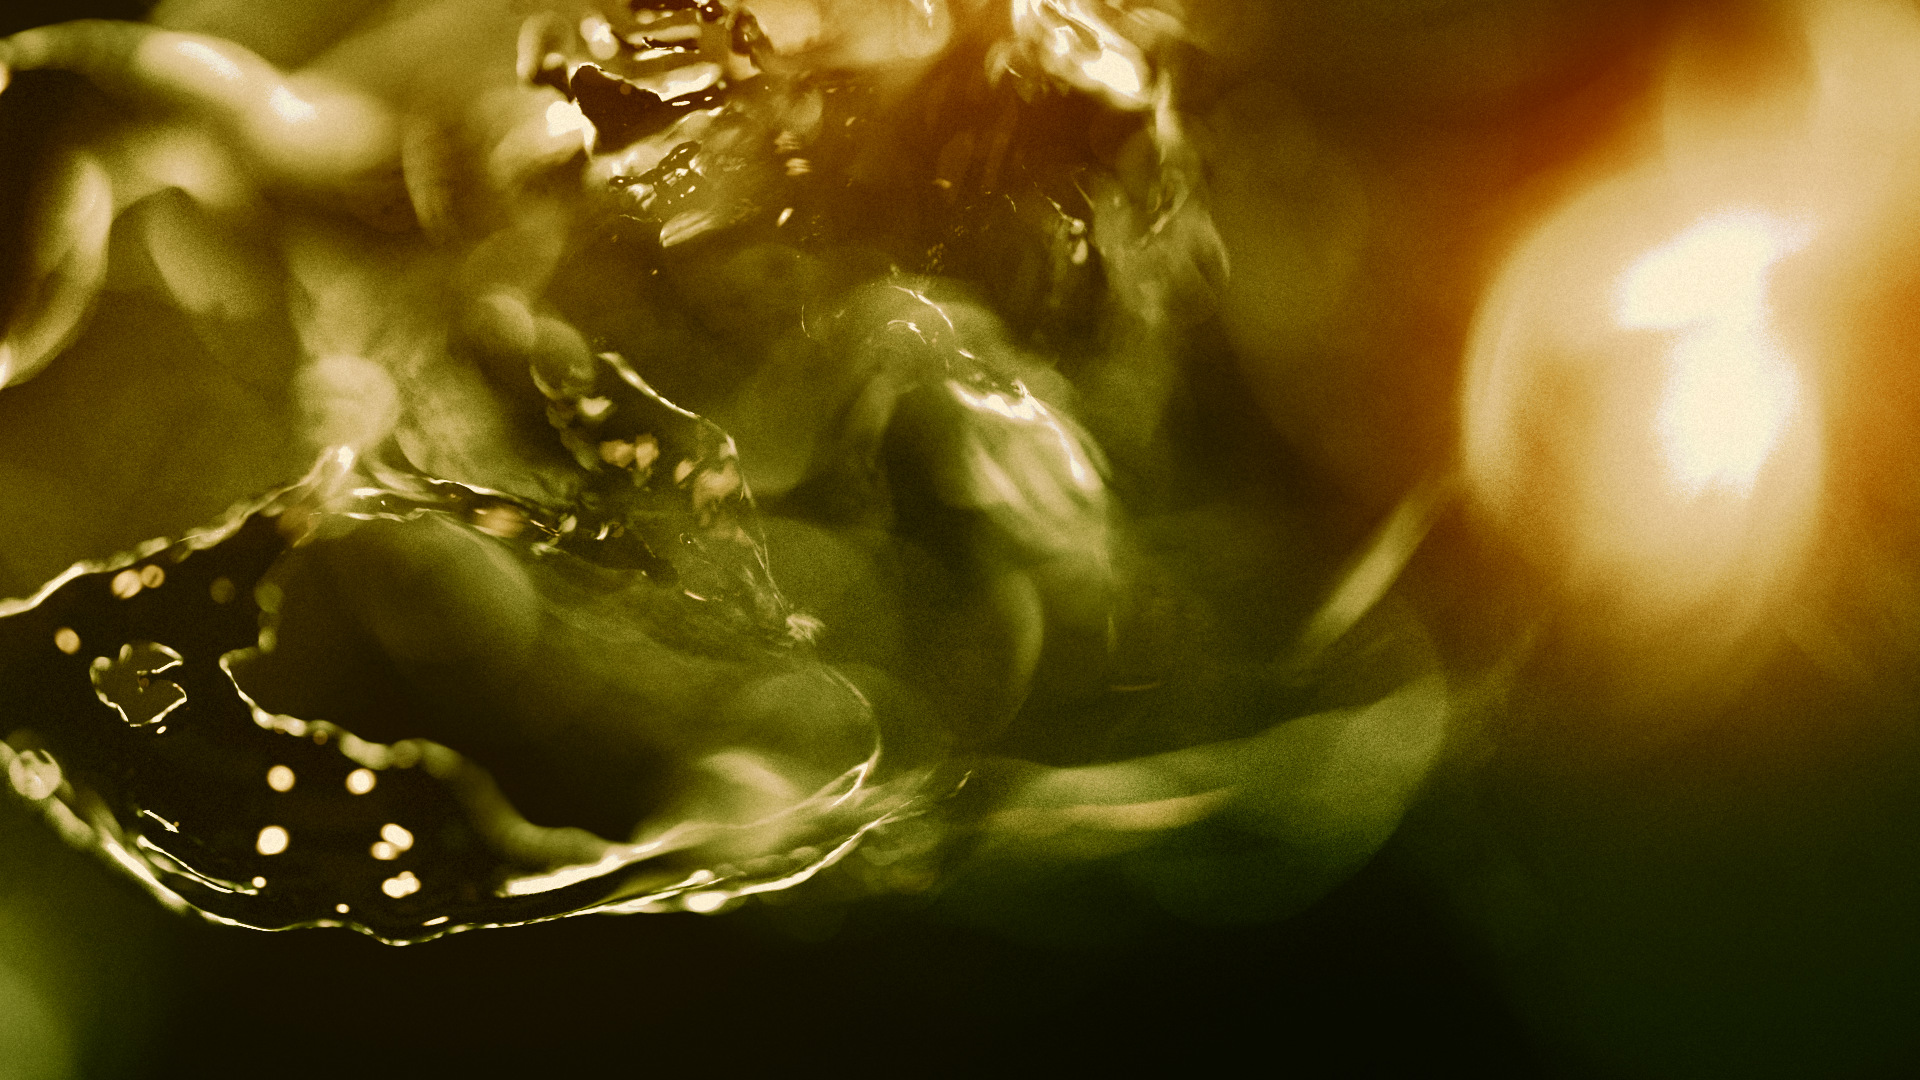
(This is how your comp and image should look like at frame 100, click om image for biggie)

Now this looks really bad and the motion is all wrong, so lets fix that;
Add a pTurbulence-node between pEmitter and pDirectionalforce, this one will create a swirly and “fluid” like motion on a larger scale. Set the X,Y and Z strength to 0.05 and the density to 6.0 ,the density will control the overall scale of the motion.
Now add a second pTurbulence after the first one, and set X and Y to 0.1 and 0.2 to z, the density should be around 26 in order to get the finer and more curly like effect. If you do a little playback now, you’ll see that we’re almost done with the “fire” motion, it’s still abit slow but we’ll fix that with a speed tool later.
The particle need to be abit slow in order to get the look with the long streaks building up, and the lines are the ones creating the billowing look later.

Creating the fire look
Now that we’ve got the particles, and the motion we want, we’ll start post-processing the image to get the desired fire look.
And we’ll start off by adding a Blur node(blur1) after the pRender node and setting the blur size to 1 to soften the image abit, then we add a second Blur(blur2) node and change the blur(blur2) setting to 6.6 to blur it even more, and finally add a Displace node where the second blur(blur2) goes to the background and the first blur goes to the foreground (the displacing blur) Now to confuse you even more, add Rectangular mask to the second blur (Blur2) And place it on top of the image, big and with lotsa softness. What this mask does is making sure the particles are blurring “over time”, or when they get old so that we don’t get the streaky motion all the time.
 We’re using the displace node to get more even distributed lines but yet keeping the lines for creating the swirling billowing motion and effect. Set the settings according to the image above.
Right after the displace node, i’ve added a softglow node to create more color-variation within the flames, set the gain to 1.6 and slow size ti about 55. Now you’ll probably see some banding effects going on, easily fixed by turning the pRender node to 32bit float.
Then i’ve added another displace node (displace2) (softglow->background displace) to bring back some of the details from the particle render to the blurred out top part of the image, ive connected a new blur node from the pRender and set the X blur size to 0 and Y size to about 4.4 , and on the new displace node (displace2) change the type from Radial to XY, and set x to 0 and y to -0.48 and use Luma. Now connect the same rectangle mask (rectangle1) to the mask input of our latest displace node. (displace2) so that we only get the desiered effect at the smoky part of the flames.
The last node in the chain is the might Color Corrector node, add this one after our displace node(displace2) and change the shadow color to a deep red/orange-ish and the midtones to a bright yellor/orange and boost the gain abit. The highlight should also be boosted to max in order to get some white in there aswell.

Now the extreme coolness of the technique is that it’s completely interactive with the fusion environment, that means you can add text that collides properly with the fire since the particles are just tiny points it won’t look too stupid either :) , and fire being emitted from other objects and more. And use all the other particle ninja tricks you want. Play with motion blur on them, directional blurs, even the vector distortion tool can be used to create even more wavy motion. etc etc blah blah
thanks a lot for this tuto!!! you are so talented artist, I wish you make anothers tutors like this if you have a time
Thanks for the tips man. I actually saw your robot on CGTalk last year and was well impressed. I am starting up on Fusion now so more info is always appreciated!
Matt
Thanks,your tuto is great.thank you so much..
Brilliant, thank you so much.
links to images are broken