Creating a custom displacement tool
The custom tool in fusion is very versatile, you can use it to do expressions on a channel or per pixel level.In this case we’ll grab the pixel values of one image and use it to displace another one.
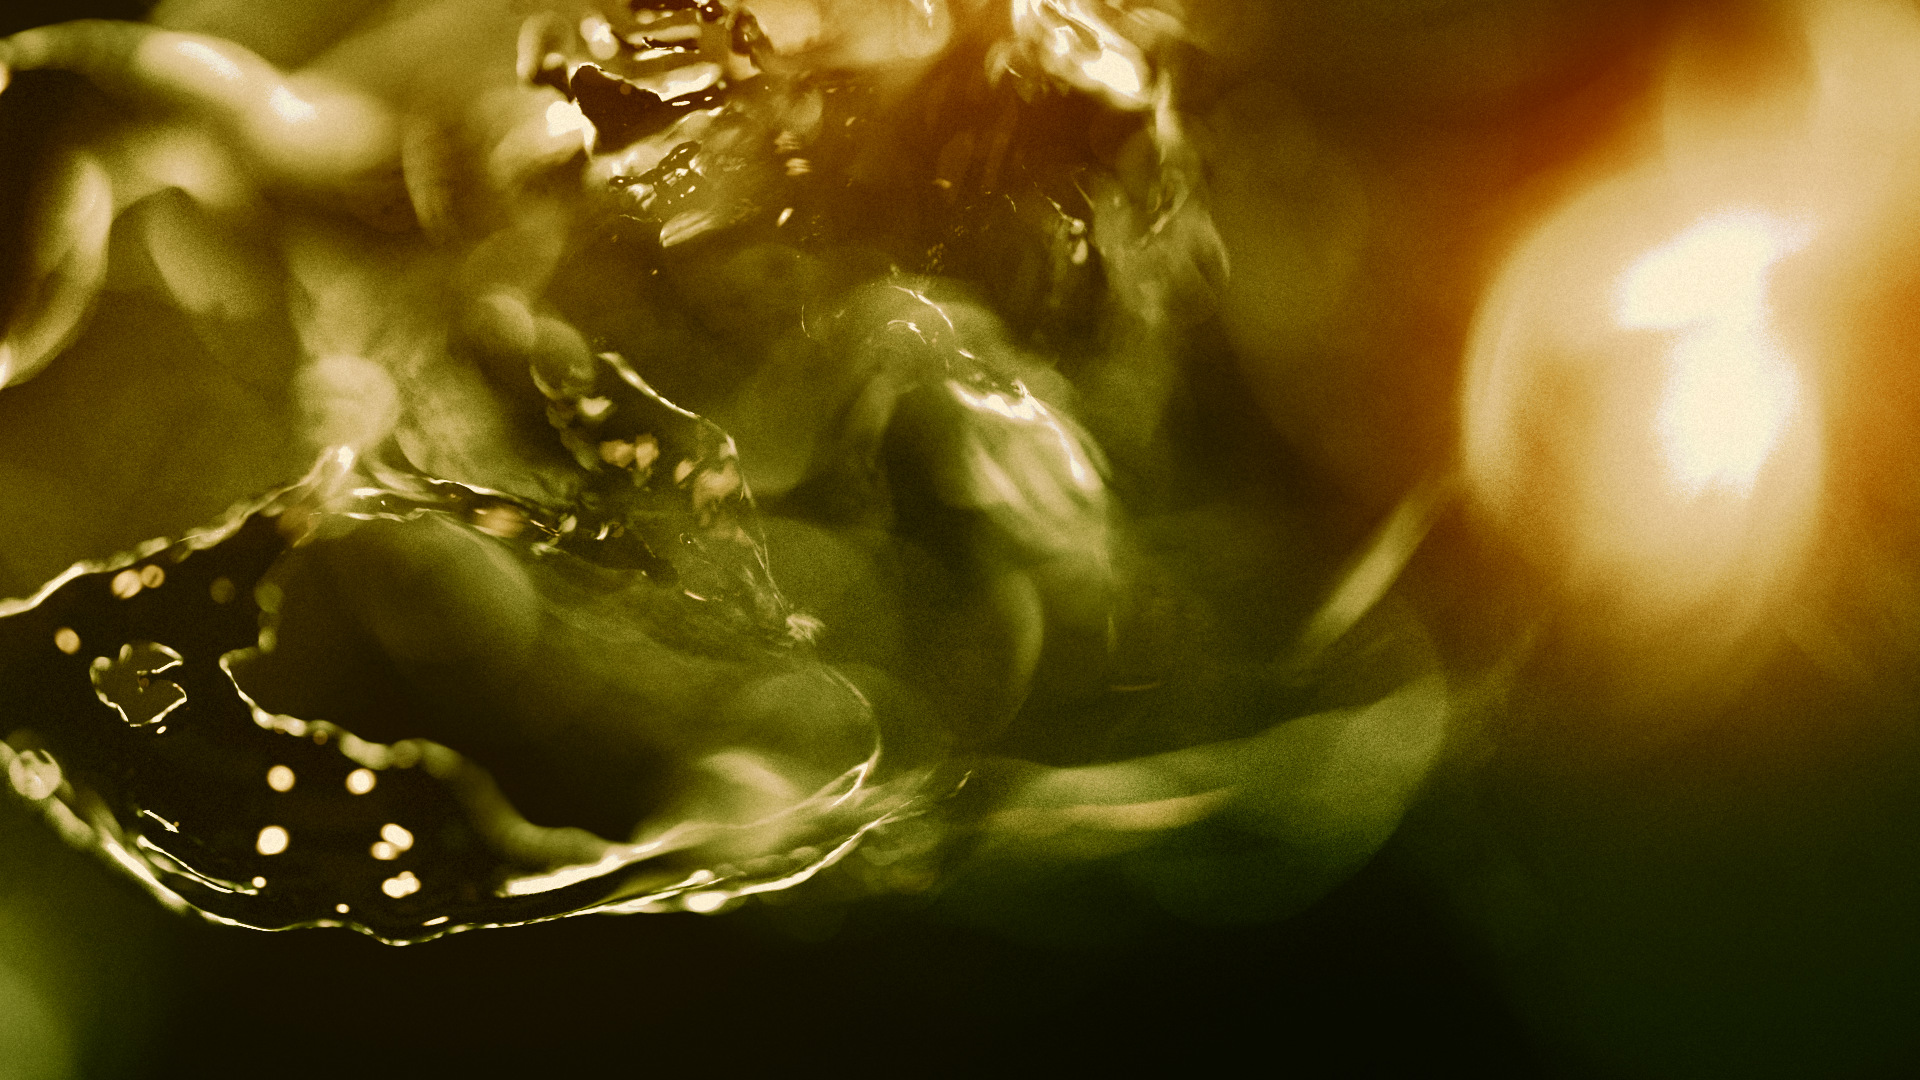
Step 1. Load a source image that you want to displace, and then load the image you want to use as the displacement.
Step 2. Create a Custom Tool and connect the first image to the background and the second image to the foreground. The resolution doesn’t have to be the same, as the custom tool will stretch the second image to the dimensions of the first.

Step 3. We’re going to grab the luminance of the second image, and use that to drive the position of each pixel on the first image. On the intermediate1 slot, write the following expression x-(getr2b(x,y))*n1 .
This tells fusion to substract the current pixels X position based on the second image (x-). It gets the values from the second image by grabbing it by the bounds of the red channel (getr2b= get (R)RED from image (2)2 by the (B)Bounds). And then multiply it with a arbitrary number (*n1) so you can control the amount of displacement with the first slider in the controls tab.
Do the same for Intermediate2, but replace the x- with y- and *n1 with *n2. (y-(getr2b(x,y))*n2)
Step 4. You’ve now done all the pixel calculations and need to feed it back to the image. Go to the channels tab and and in the Red expressions tab write getr1b(i1, i2) . This tells fusion to set the values in the first image’s red channel by the bounds (getR1B) based on the new X,Y positions from the intermediate tab (i1,i2).
Repeat for green,blue and alpha. But change the syntax from getR1b to getG1b, getB1b, getA1b.
Step 5. Switch to the controls tab and play with the two first sliders (n1 and n2) to displace both directions separately.

Remember to set the displacement image to float, otherwise you’ll encounter aliasing issues.
If you want to use something other then the red channel to displace, you can change the initial intermediate expression from getR1b to getB1b to blue. Or you could average the channels together ((r+g+b/3) to use the actual luminance.